🥚 Deviled Eggs – The Ultimate Guide
Deviled Eggs are a timeless appetizer that have delighted taste buds for centuries. They are simple, elegant, and versatile, combining the creamy richness of hard-boiled egg yolks with tangy seasonings. They are perfect for parties, picnics, holiday meals, or just a protein-packed snack. In this guide, you’ll learn every step, plus expert tips, variations, and nutritional information.
🌍 History and Background
Deviled eggs have been around since ancient Rome, where boiled eggs were seasoned with spicy sauces and served as appetizers. The term “deviled” became popular in the 18th century, referring to dishes that are spiced or zesty. Today, deviled eggs are considered a staple at American gatherings, from Thanksgiving to summer picnics, but they have global variations: in France, they are “œufs mimosa,” and in Germany, eggs may be mixed with horseradish.
📝 Ingredients
For the eggs:
- 12 large eggs (fresh but not too fresh – slightly older eggs peel easier)
- Water (enough to cover eggs in a pot by 1 inch)
- 1 teaspoon salt (optional, helps prevent cracking and enhances flavor)
For the classic filling:
- ½ cup mayonnaise (use full-fat for creaminess or light for fewer calories)
- 2 teaspoons yellow mustard (Dijon or spicy mustard for a bolder taste)
- 1 teaspoon white vinegar or fresh lemon juice (adds tanginess and balances richness)
- Salt to taste
- Black pepper to taste
- ½ teaspoon paprika (for color and mild flavor, plus extra for garnish)
Optional add-ins and flavor enhancers:
- 1–2 tablespoons finely chopped pickles or sweet relish
- 1 teaspoon hot sauce (for a spicy kick)
- 1 tablespoon finely chopped chives, parsley, or green onions
- Pinch of garlic powder, onion powder, or smoked paprika
🍳 Step-by-Step Instructions
Step 1: Boiling the Eggs
- Place the eggs in a single layer in a medium saucepan. Avoid stacking to ensure even cooking.
- Add cold water to cover the eggs by at least 1 inch. Cold water prevents sudden temperature shock and cracking.
- Optional: add 1 teaspoon salt to the water.
- Place the saucepan over medium-high heat and bring to a rolling boil.
- Once the water boils, turn off the heat and cover the pot with a lid.
- Let the eggs sit in the hot water for 10–12 minutes.
Tip: For a softer yolk center, reduce time to 9–10 minutes. Overcooking creates a gray-green ring around the yolk and a sulfur smell.
Step 2: Cooling and Peeling
- Prepare a bowl of ice water while eggs are cooking.
- After the hot water bath, transfer the eggs immediately into the ice water. This stops cooking and makes peeling easier.
- Let the eggs cool for at least 5–10 minutes.
- Gently tap each egg on a hard surface and roll it to crack the shell all over.
- Peel under running water, starting at the wider end where an air pocket forms.
Tip: Older eggs are easier to peel because the pH of the white increases over time.
Step 3: Preparing the Yolks
- Slice each egg in half lengthwise using a sharp knife.
- Carefully remove the yolks and place them in a medium mixing bowl.
- Arrange the egg whites on a serving platter, keeping them upright to hold filling.
Tip: To avoid breaking whites, use a small spoon or your fingers gently.
Step 4: Making the Filling
- Mash the yolks thoroughly with a fork until smooth.
- Add mayonnaise, mustard, and vinegar/lemon juice.
- Mix until creamy and uniform. A small whisk can make the filling extra silky.
- Season with salt and black pepper. Taste and adjust as needed.
- Optional additions:
- Sweet pickle relish for tangy sweetness
- Hot sauce or cayenne for spice
- Chopped herbs for freshness
- Garlic or onion powder for depth of flavor
Tip: For extra smooth filling, push yolks through a fine sieve before mixing.
Step 5: Filling the Egg Whites
- Use a spoon to carefully fill each egg white cavity with the yolk mixture.
- For a decorative look, use a piping bag with a star tip.
- Fill generously, but avoid overstuffing to prevent mixture from spilling.
Tip: Chill filled eggs for 15–20 minutes to let flavors meld and make them easier to serve.
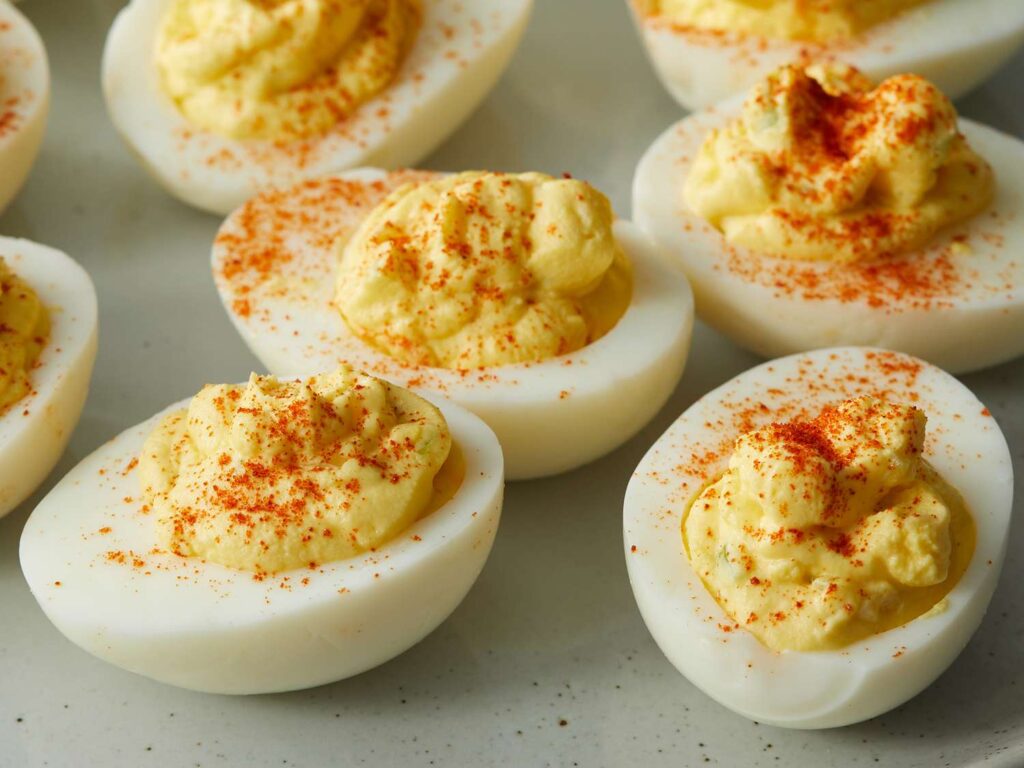
Step 6: Garnish and Serve
- Lightly sprinkle paprika over each filled egg.
- Add additional garnish: chopped herbs, small pickles, or a slice of olive.
- Serve chilled for best flavor and texture.
Presentation tip: Serve on a platter lined with lettuce leaves or parsley sprigs for elegance.
🌟 Tips for Perfect Deviled Eggs
- Egg freshness: Slightly older eggs peel easier.
- Don’t overcook: Avoid rubbery whites and green yolks.
- Balance flavors: Creaminess, tanginess, and seasoning should complement each other.
- Creative fillings: Try avocado, cream cheese, or smoked salmon variations.
- Make ahead: Boil and peel eggs in advance; fill a few hours before serving.
🔄 Popular Variations
1. Spicy Deviled Eggs
Add ½ teaspoon cayenne, 1 teaspoon hot sauce, or chopped jalapeño for heat.
2. Garlic Herb Deviled Eggs
Mix in 1 teaspoon garlic powder, 1 tablespoon fresh parsley, dill, or chives.
3. Avocado Deviled Eggs
Replace half the mayonnaise with mashed avocado. Garnish with lime zest.
4. Bacon & Cheddar
Sprinkle crispy bacon bits and shredded cheddar on top for a savory twist.
5. Mediterranean Style
Mix yolks with olive tapenade, feta, and a pinch of oregano.
🧊 Storage Instructions
- Place filled eggs in an airtight container.
- Refrigerate and consume within 2 days for best taste.
- Do not freeze; texture and creaminess will suffer.
- Unfilled egg whites can be stored in the refrigerator for up to 3 days.
📊 Nutritional Information (Per 1 Deviled Egg Half)
| Nutrient | Amount |
|---|---|
| Calories | 65–75 kcal |
| Protein | 3 g |
| Fat | 5 g |
| Saturated Fat | 1.5 g |
| Cholesterol | 95 mg |
| Carbohydrates | 0.5 g |
| Sugars | 0.3 g |
| Sodium | 75 mg |
| Fiber | 0 g |
Note: Values may vary depending on mayonnaise type and any extra ingredients used.
⚖️ Health Benefits
- High in protein – supports muscle repair and satiety.
- Low in carbohydrates – suitable for low-carb and keto diets.
- Nutrient-rich – provides vitamin B12, selenium, choline, and healthy fats.
- Moderation advised – due to cholesterol and saturated fat content, especially for heart-conscious individuals.
🍽️ Serving Ideas
- Serve alongside fresh vegetable platters or salads.
- Include on brunch or picnic boards with cheeses, fruits, and crackers.
- Pair with grilled meats or sandwiches for a balanced meal.